
Apartment Makeover: Living Room
The post you've all been waiting for! I've literally been a slave to Amazon and Pinterest recently just redecorating. I just can't function in a place if I don't feel "at home." For me home means: bright, welcoming, and organized. When I know everything has a place, I'm so much happier. I've cut down on my space significantly from where I use to live, and now I have a new roommate, so a lot of adjustments. Thankfully, my roommate is a close friend and knew decorating was important to me, so she was all on board with the updates I wanted to do.
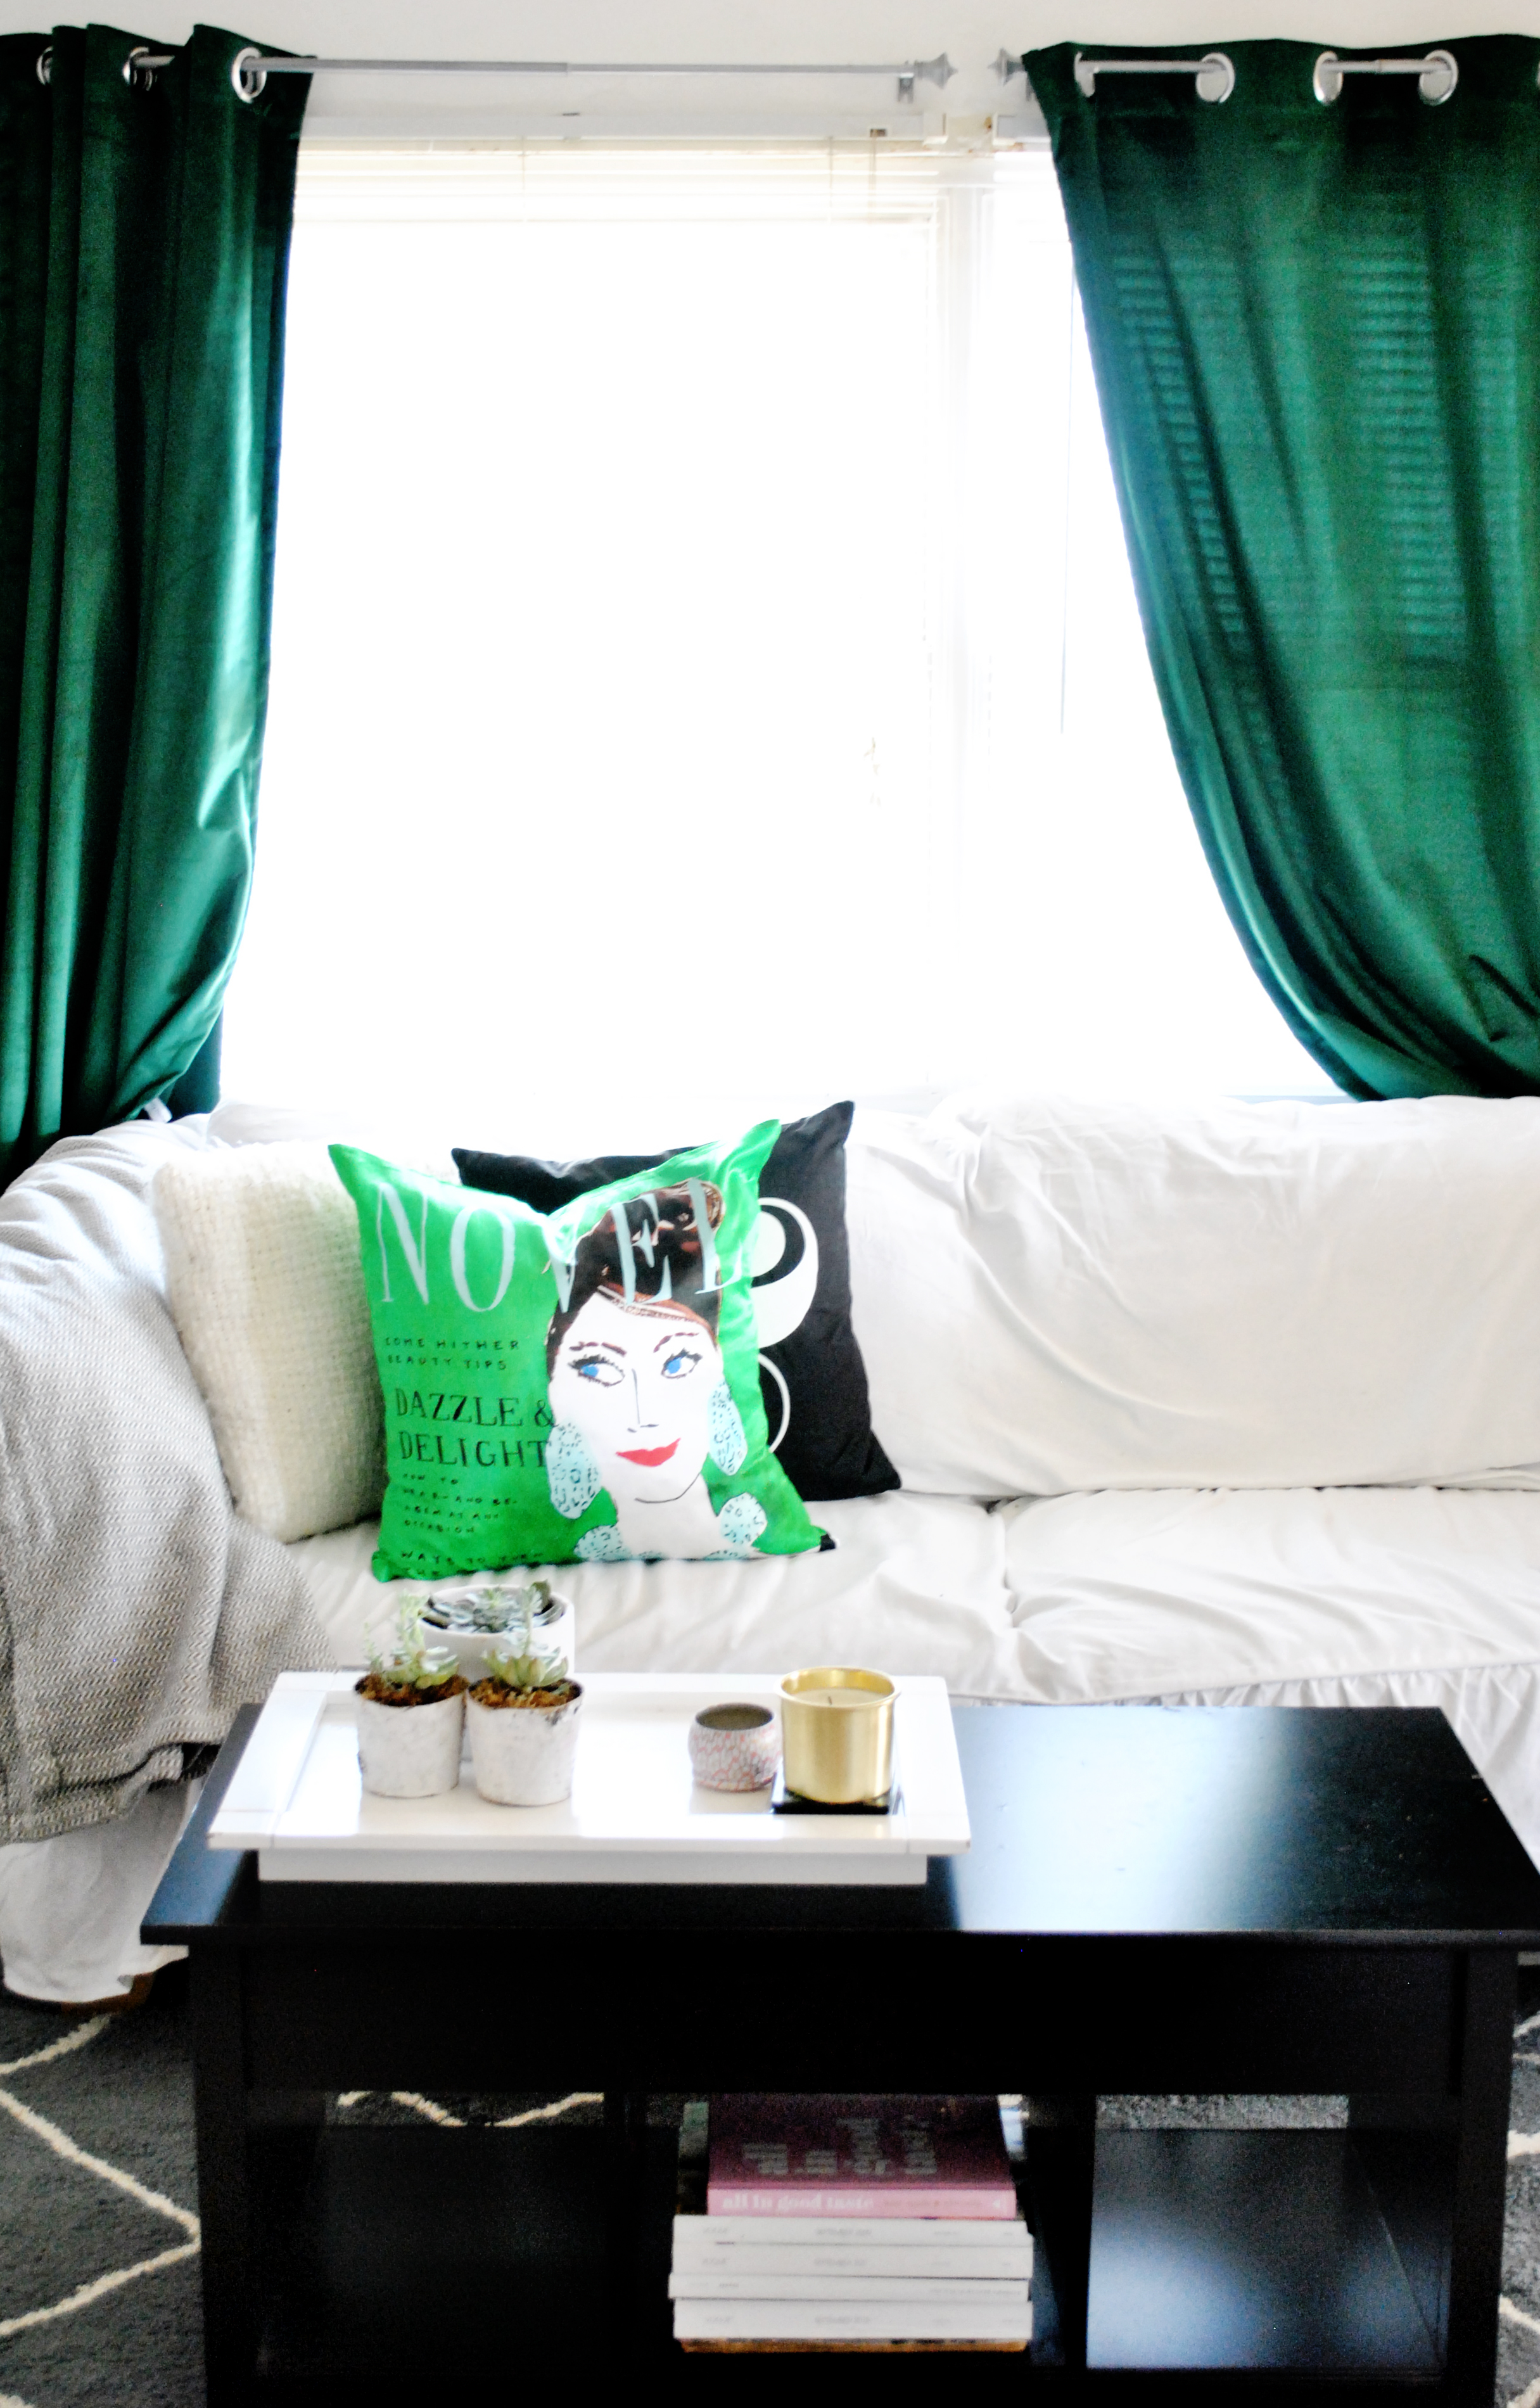
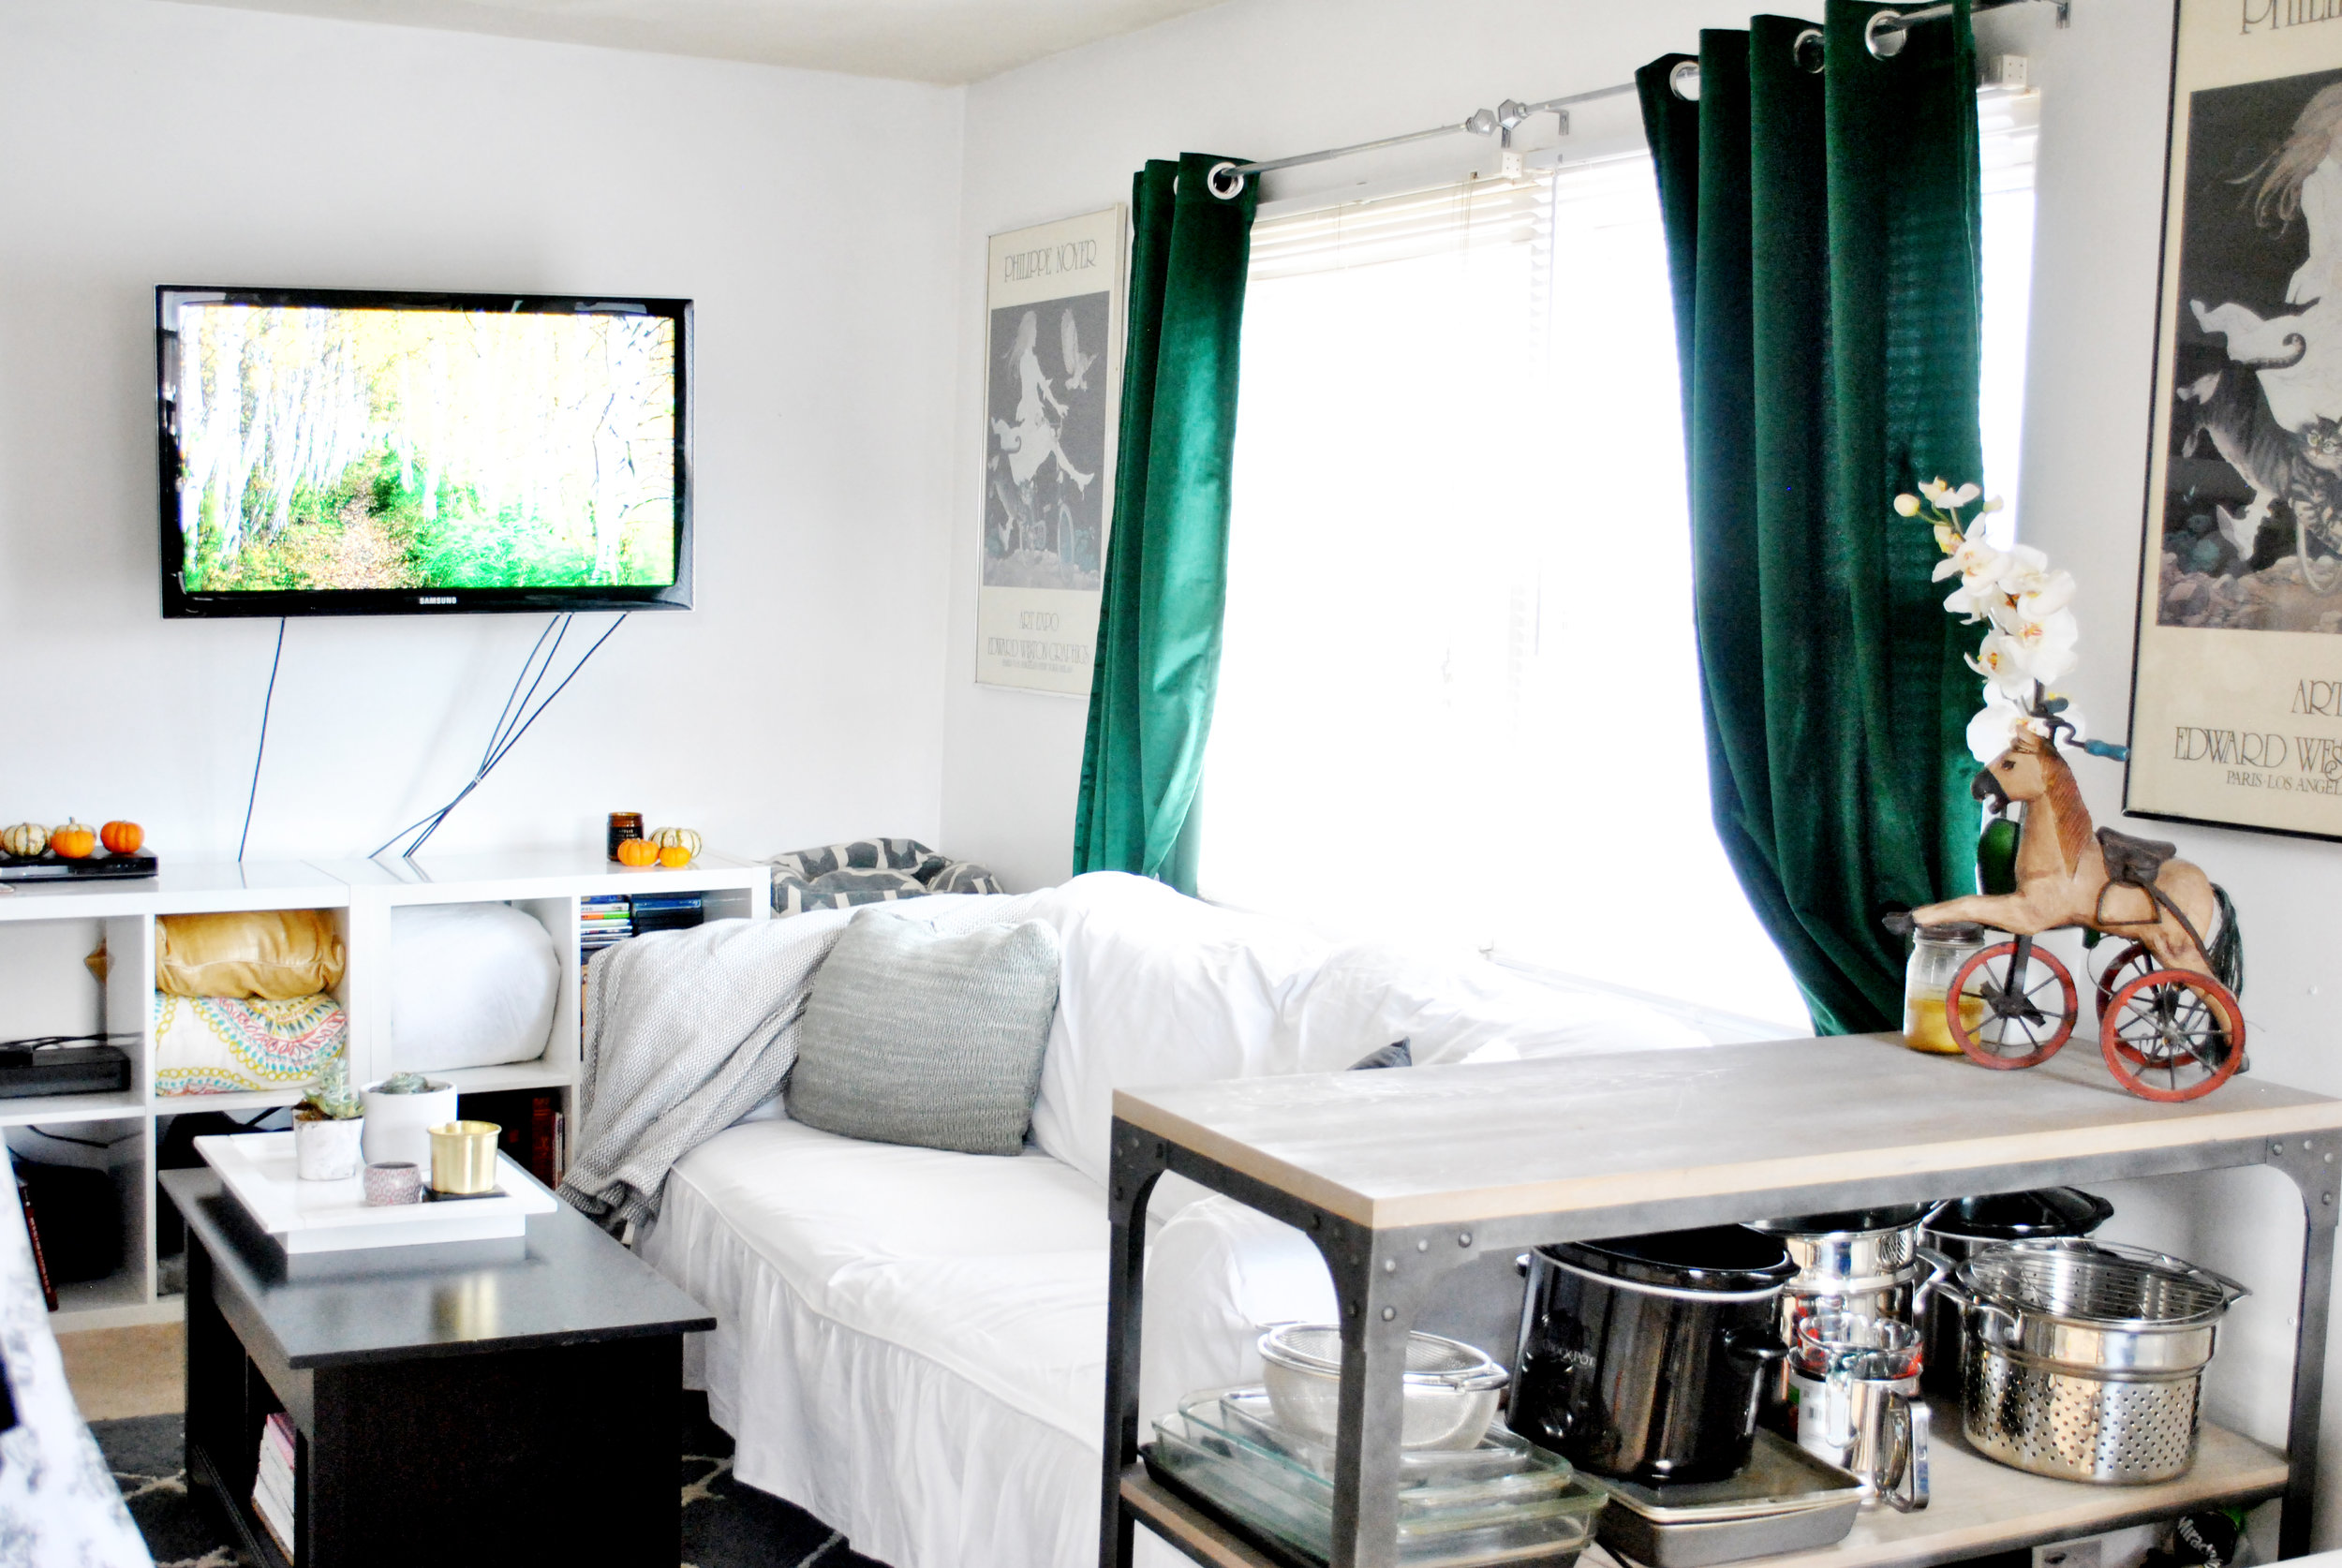
The first goal was brightening up the space. Below there's a few "before and after" photos you can check out, so you can see what I mean. Everything in the apartment was beige, and I HATE beige. White is easy, it goes with everything, landlords don't hate it, and it makes the space feel twice as big. I threw a painting party with 3 other people, everyone got a brush, some beer and pizza, and went to town. Together it took a total of 3 days to paint my ENTIRE apartment. (If you remember my instagram stories). The second was pick a color scheme, I went with black and green, with gold accents. My roommate already had some black furniture pieces, and I wanted the tiny space to feel fresh and new, so green felt like a perfect match. I started drafting up an idea, which helped me stay focused.
My apartment is about 800 sq ft. and this is the procedure I took:
Day 1: buy supplies: spackle, sand paper, 5 rollers, 2 paint brushes, an edger (BEST THING YOU CAN BUY), tarps, 5/6 gallons of paint, and painters tape. Day 1 you really want to do all the prep work, spackling and taping! Also, moving the furniture to the center of the room, and creating walk ways. I made cardboard walkways for friends, so no paint would get on the carpet where the tarp wasn't.
Day 2: Sanding and painting. You want to make sure every hole you spackled is sanded well down. We had a bunch of holes from past tenants
Day 3: Finish painting (mainly the bathroom) and painting trim. I did all the walls in a matte white, and the baseboards & doors in a semi gloss. Although I have a small bathroom, it's an odd shape with tons of cabinets, so it required 4X the amount of tape, and took forever to paint!
Tips, before and after photos, and shoppable items below!
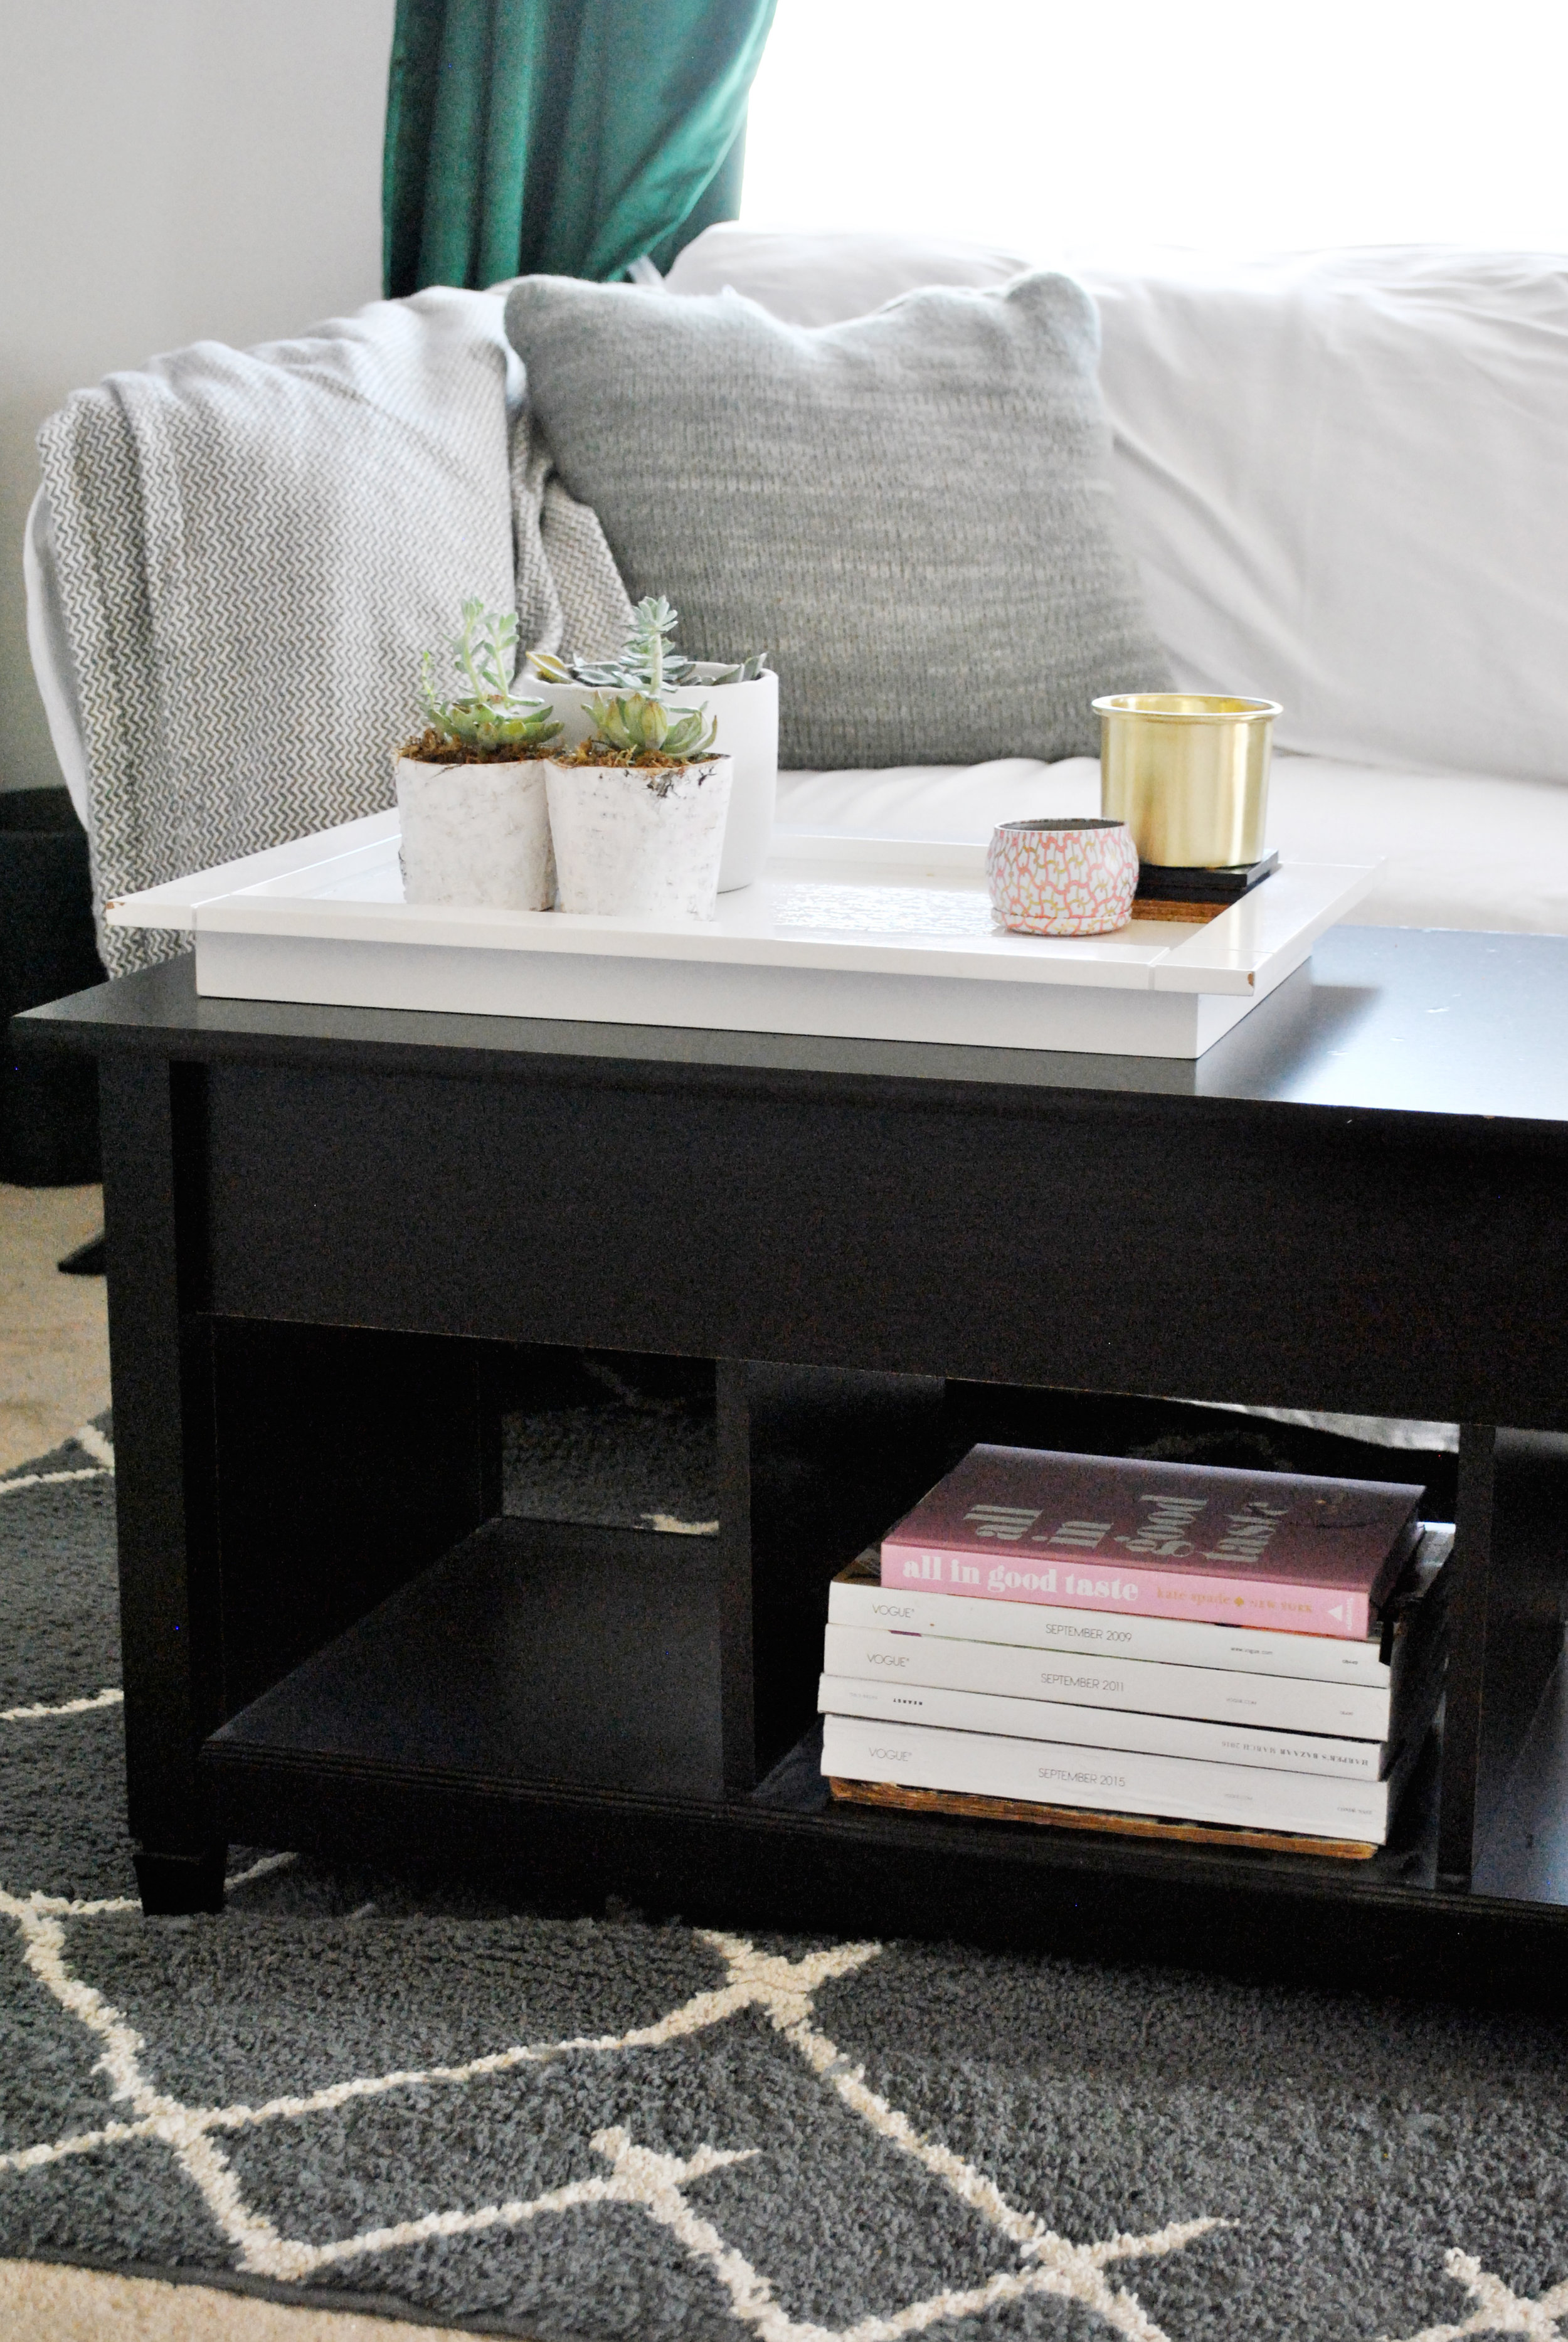

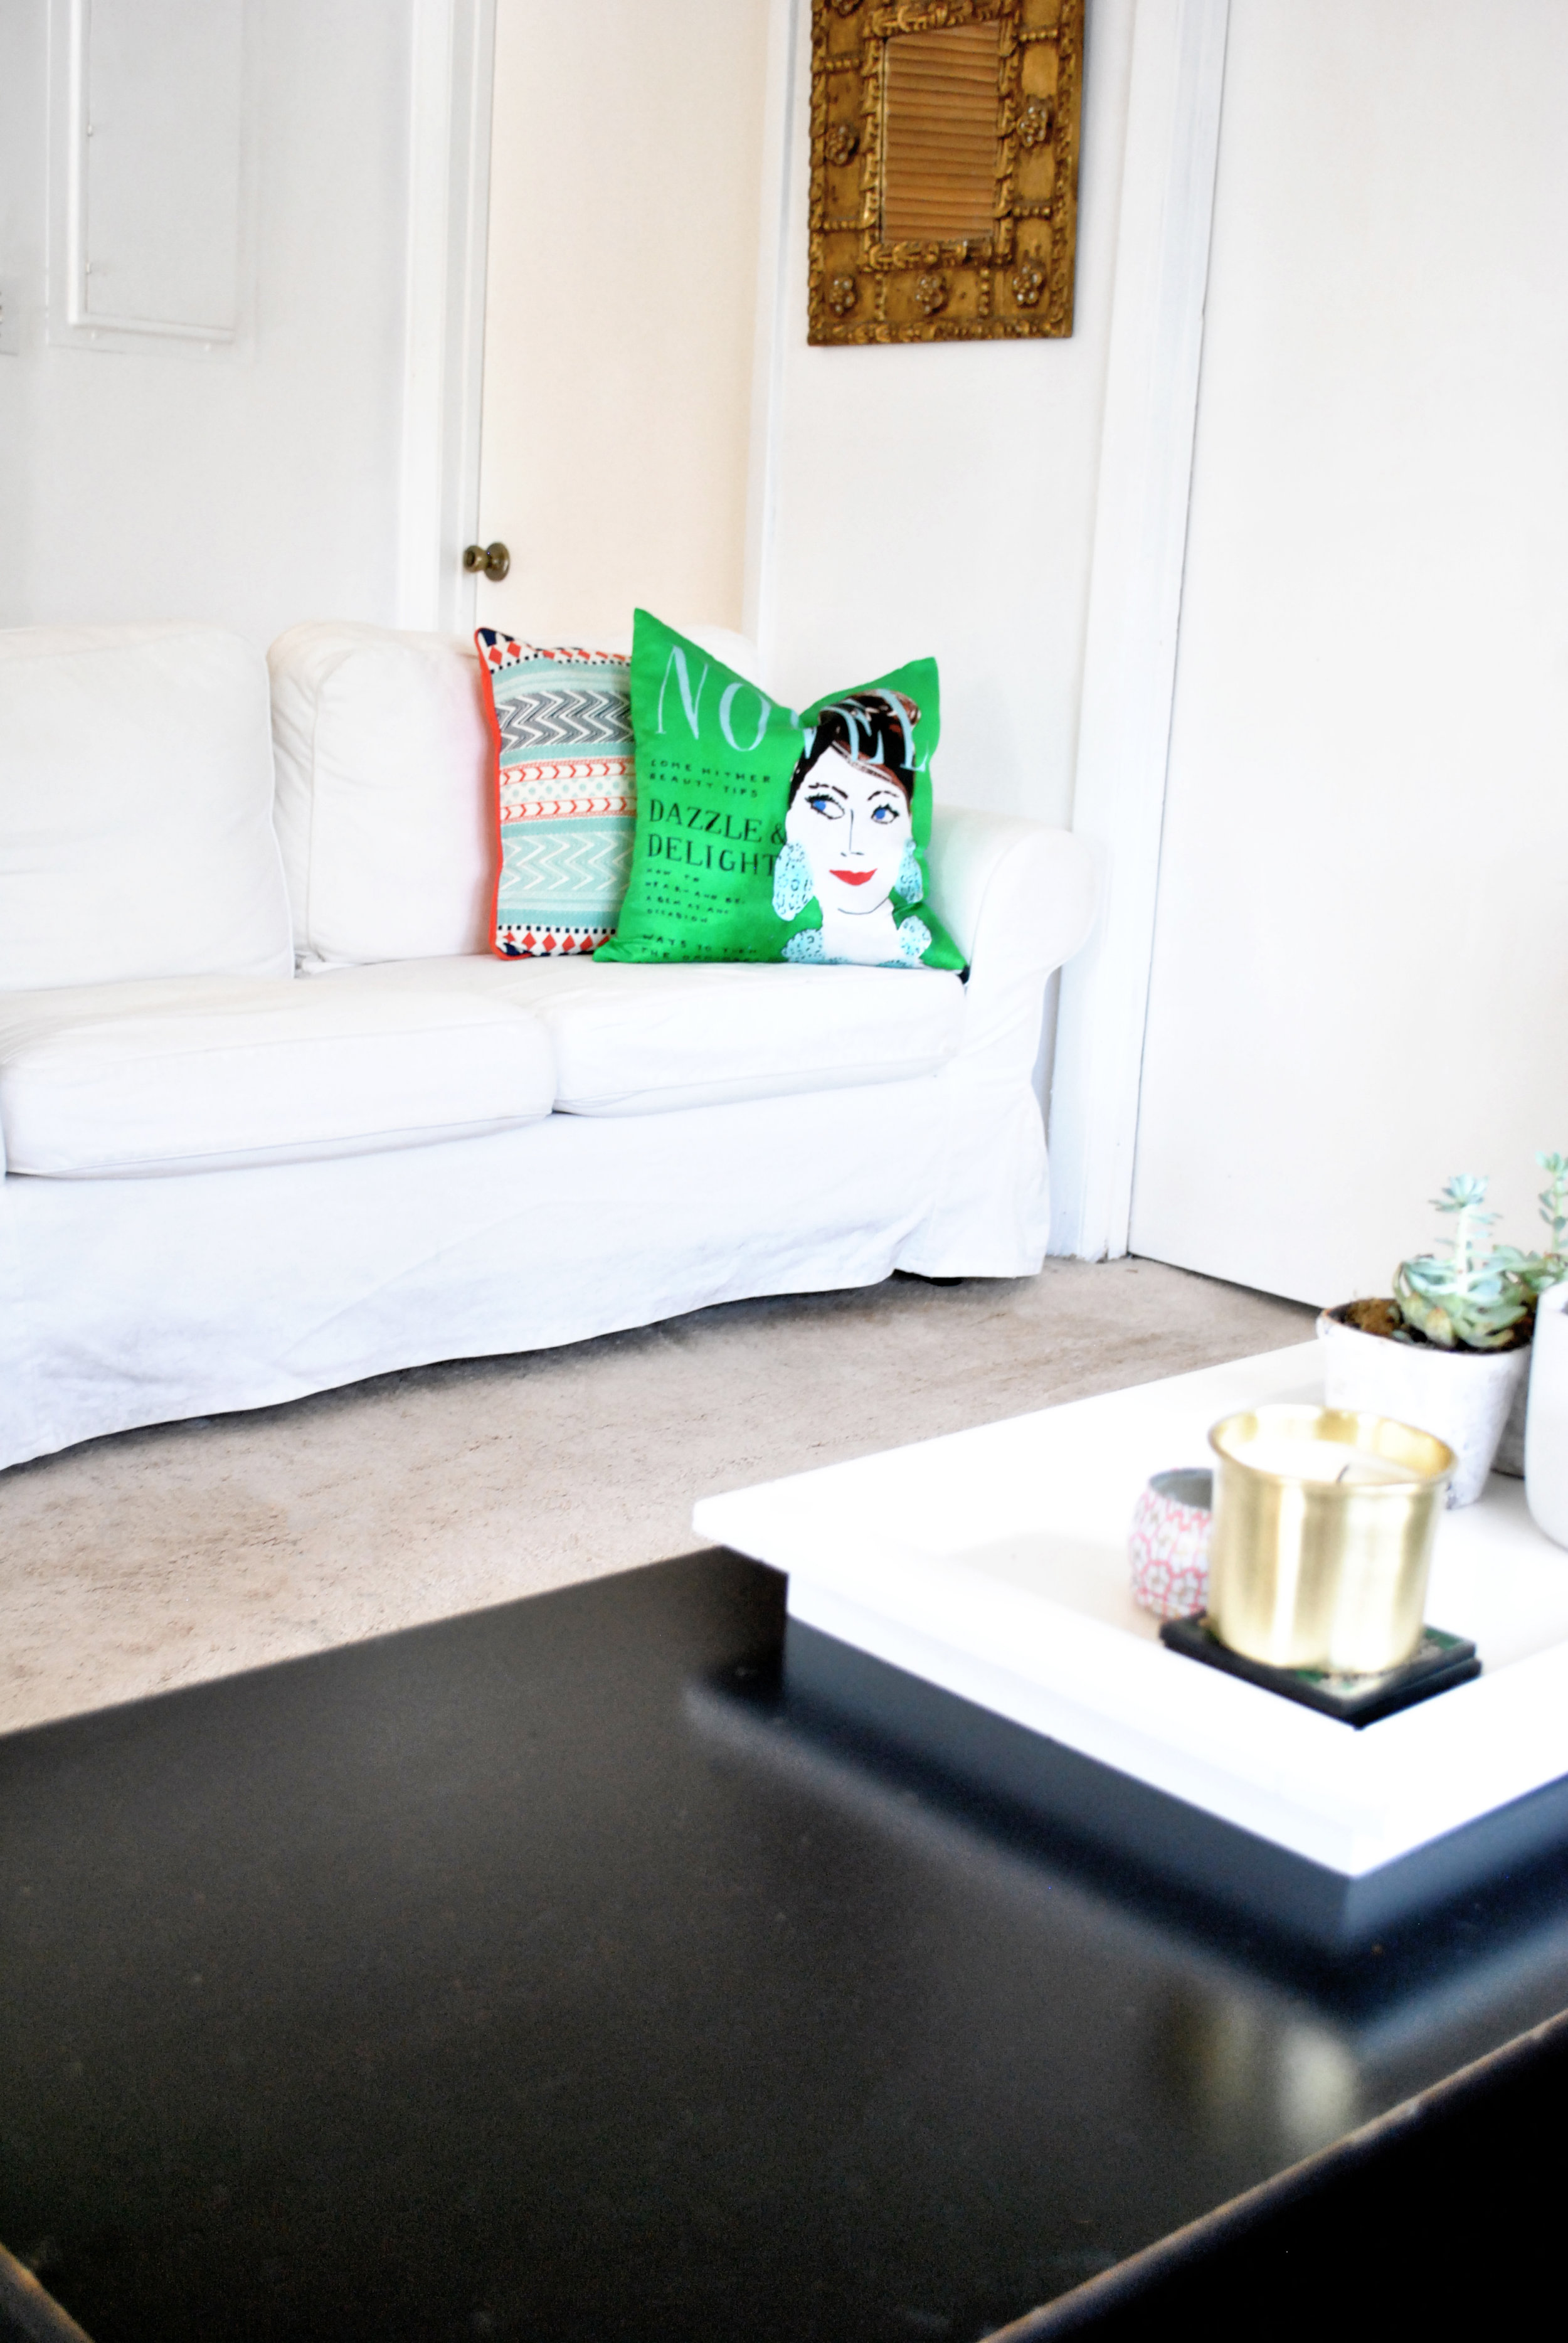


There's still a bunch I'd like to to do with the space, but I don't have an unlimited budget. As it is I probably went over than what I should. But a huge savior was buying couch covers from Target, instead of brand new furniture. The gray couches you see in the before photos, are the same ones in the after. The couch covers gave a shabby chic look, and I was going for a more modern style, but it's still such a huge improvement. One of my close friends is an interior designer, and she's probably going to cringe at some of these photos.... but I think for someone who knows nothing about interior design and on the world's tightest budget I did OK. (Sorry Victoria... but she gave me great tips about the rug, which I didn't really follow.... but you can see her amazing work here). Victoria's tip about the rug was that it should come out to half of the room and be under part of the chair against the wall. I didn't follow it because 1, I didn't feel like lifting up the couch again, and 2 I feel the rug is so big and overpowering it made the space look smaller the more I brought it out.
Rearranging the furniture also helped opening the space. We left the couch at the window, moved the chair from under the television to the wall (where the loveseat was), and brought the loveseat out to separate the two bedrooms, parallel with the other couch.
What I spent my money on:
Paint and supplies: about $300
Couch and Chair slipcover (loveseat was already white, and has a removable cover so I just bleached it!): $126
Bookshelves/TV consol (Ikea Kallax): $70
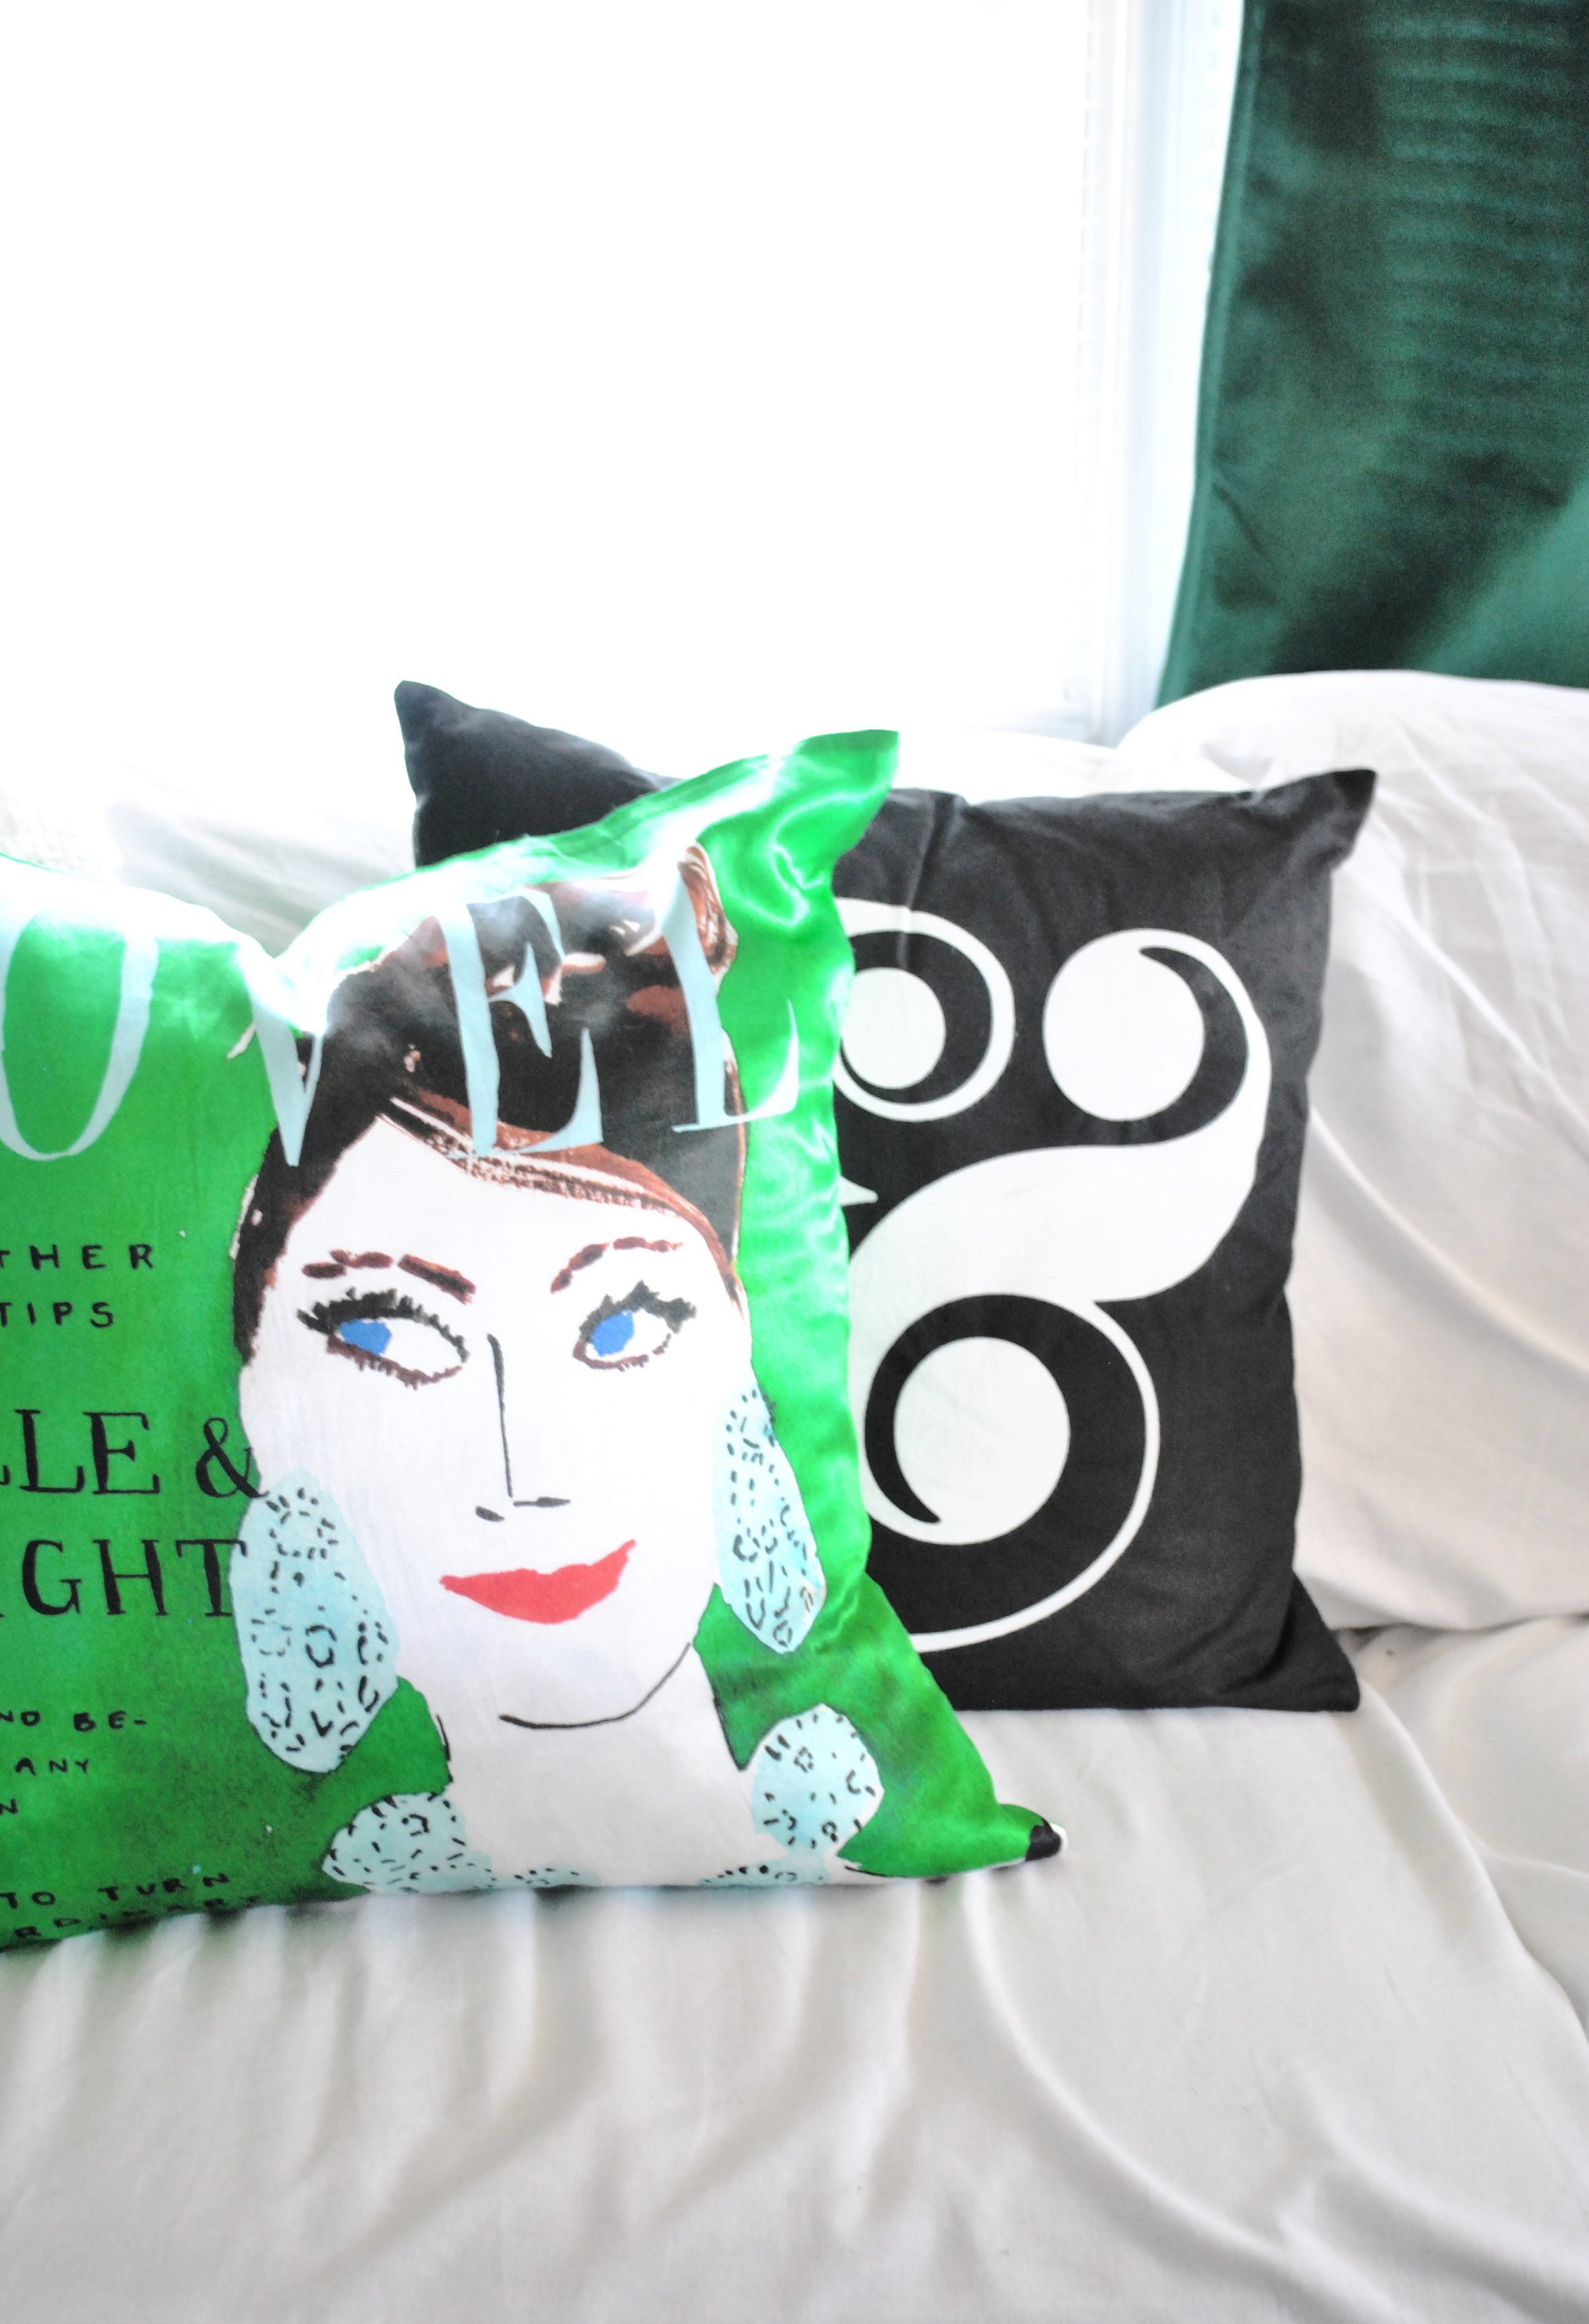
Kate Spade Pillows (Ampersand and Dazzle and Delight, obsessed with that one): $100
Crushed Velvet Green Curtains from Amazon: $90 for 3 panels
Total: $686 for the living room. The big expense was paint and supplies, but that was for the whole apartment. Also, first time adding this number up..... going to go hide now.
Please let me know if you have any questions or tips! This has been a love hate project.
To view the "Before and After" photos below larger, just click!


